What Are SBTs (Soulbound Tokens)?
A major part of the appeal of NFTs are their ability to be traded and sold as digital assets, while being permanently recorded on the blockchain. But not all NFTs are alike: some operate a little bit differently.
Say hello to SBTs, otherwise known as Soulbound Tokens.
SBTs are a recent trend in NFT collections. The concept of SBTs, amusingly enough, defies conventional wisdom: these are NFTs which are specifically designed not to be bought, sold, or transferred. With the inability to transfer, soulbound tokens ensure that they always remain on their intended wallet. Furthermore, they provide an additional layer of security in the event of a wallet being compromised, as they cannot be drained or transferred.
In this short walkthrough, we’ll show you exactly how to create soulbound tokens with Launchpad.
What Are SBTs Used For?
The possible use cases for SBTs are plentiful.
Many people in the space envision a future where personal information is uniquely bound to an individual’s wallet. However, with security an ever looming concern on everyone’s mind, additional means of protecting one’s most valuable assets like their digital and professional identity suggested the need for further protection.
SBTs are most useful for assets which are best bound to the owner, such as: diplomas, certificates, identification, insurance, medical records, flight records, voting records, proof of training, work accolades, and proof of attendance, among others. Additionally, SBTs can also serve useful as governance tokens, helping to mitigate Sybil attacks on DAO proposals.
How does this work? It’s actually quite simple: SBTs just block the “set approval for all” function in their smart contract, ensuring that transactions cannot go through.
How to Create SBTs with Launchpad
1. Create a new collection
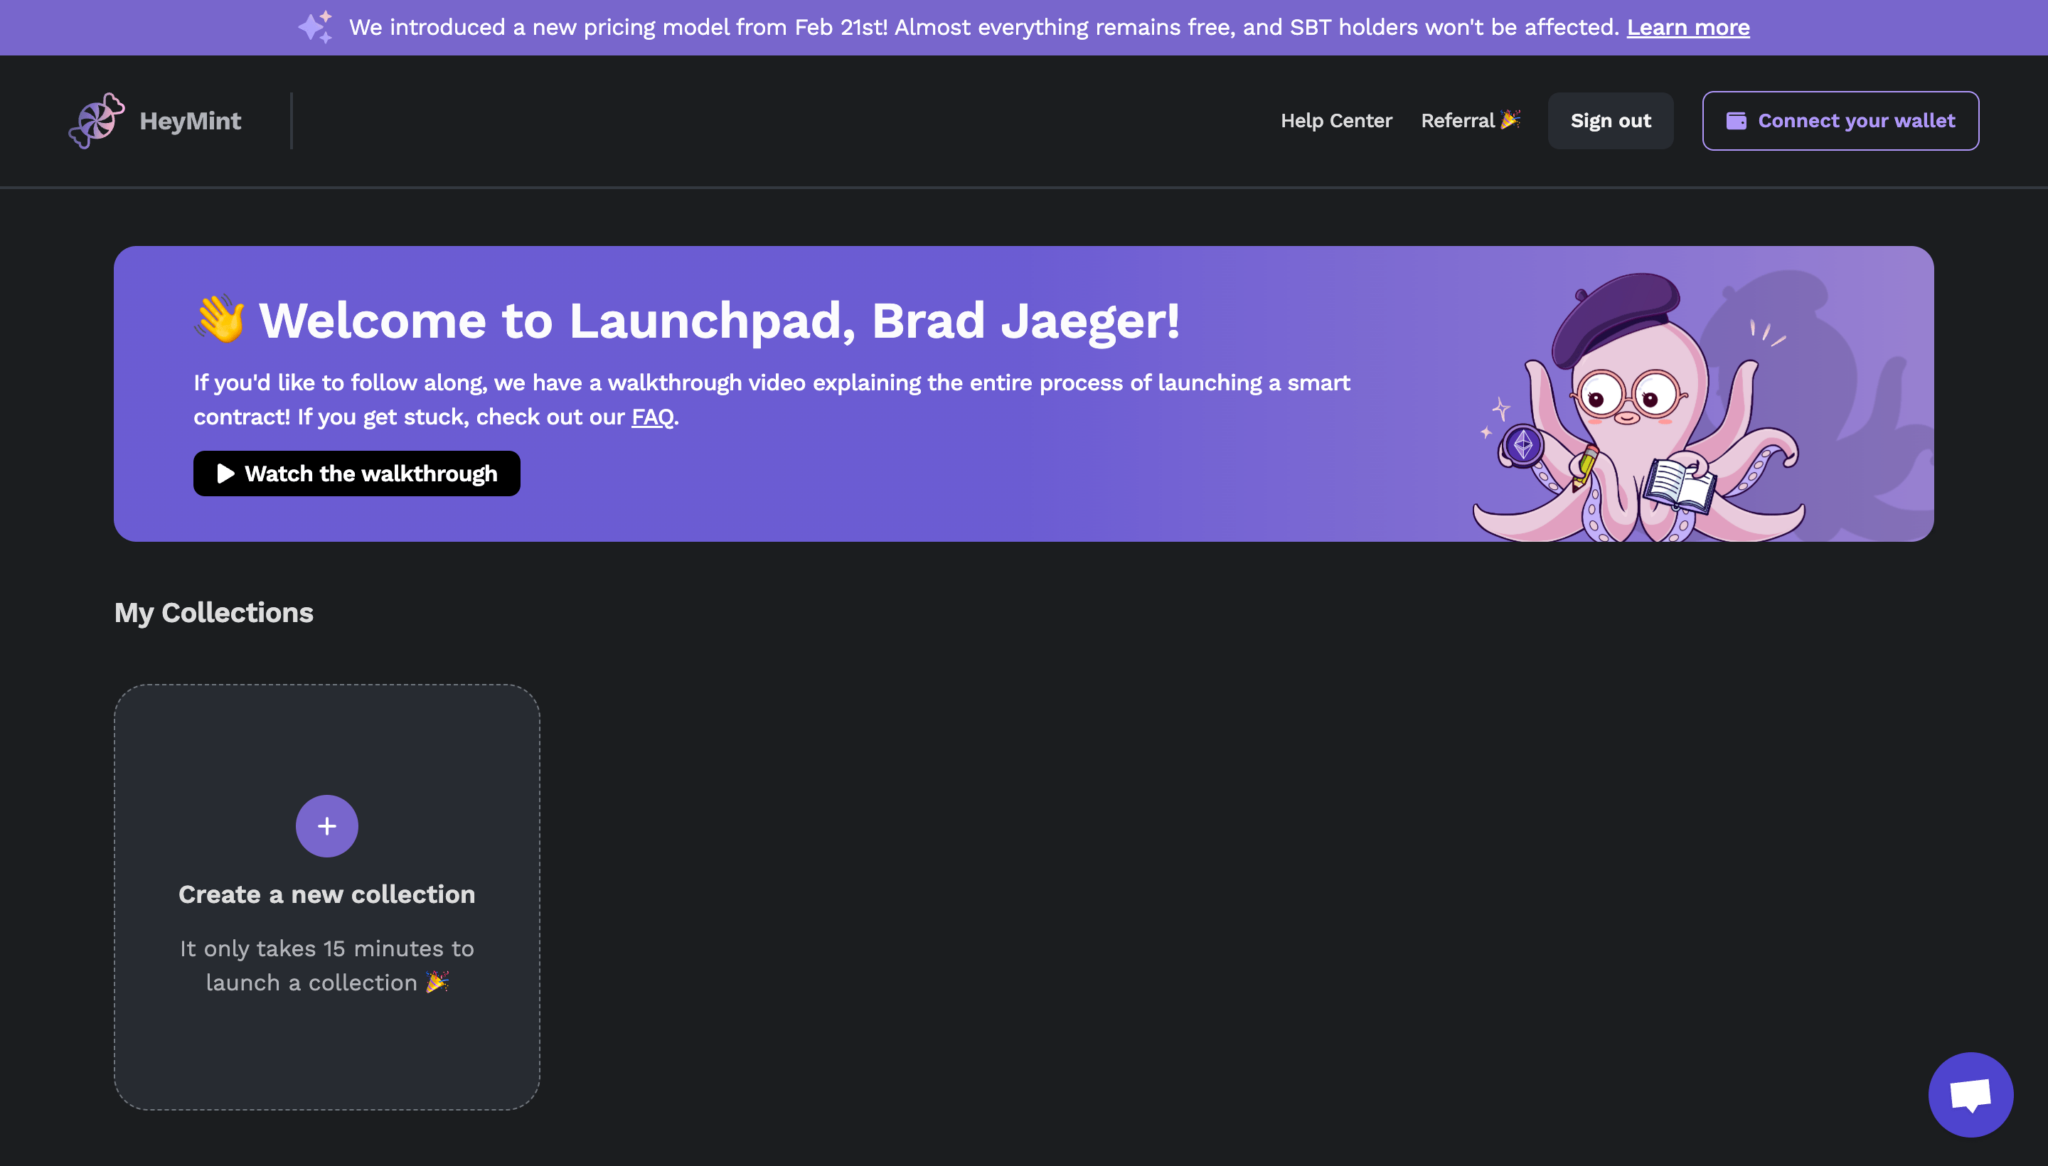
After signing in and connecting your wallet (which will prompt signing a signature request), click “Create a new collection”.

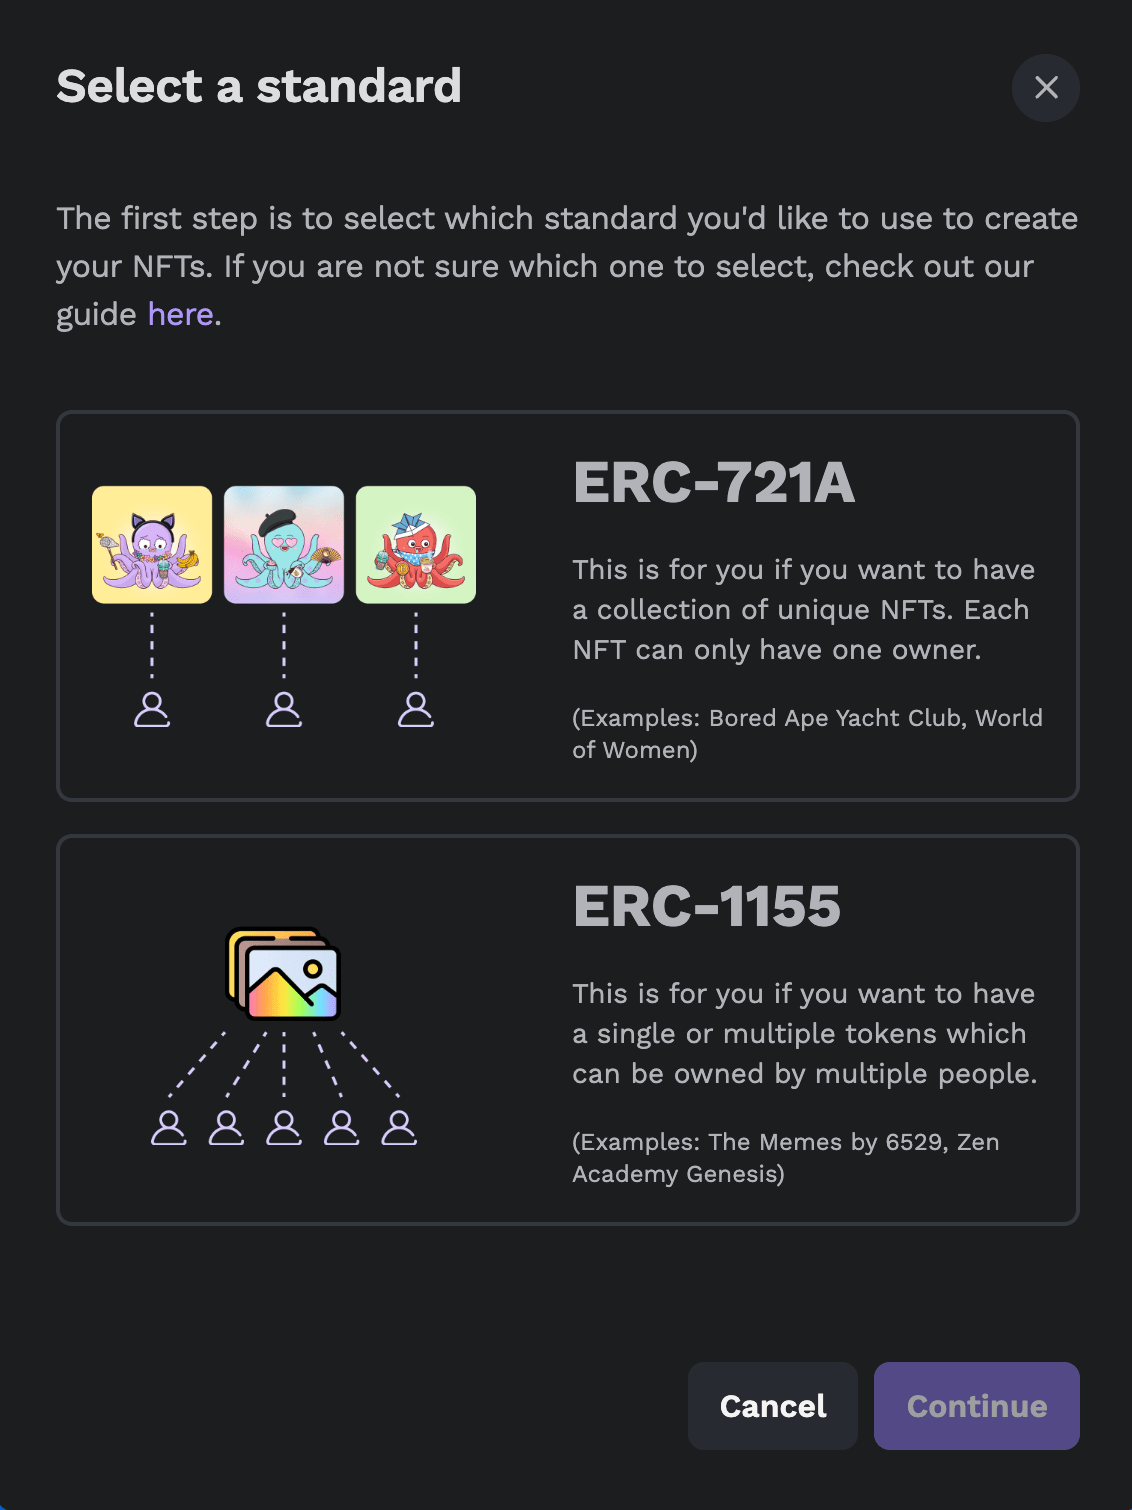
2. ChooseERC-721A and click “Continue”
(Note: we support SBTs for ERC-1155 collections as well, but they have not yet been integrated into Launchpad’s flow. We anticipate this being added in the near future and will update this walkthrough with ERC-1155 instructions at that time).

3. Configure your collection details, sales, payout & royalties.
If you need help with this step, feel free to consult our walkthroughs for complete details:
How to Create an ERC-721A NFT Collection With Launchpad
How to Create an ERC-1155 NFT Collection With Launchpad
When configured to your liking, click “Create collection”.
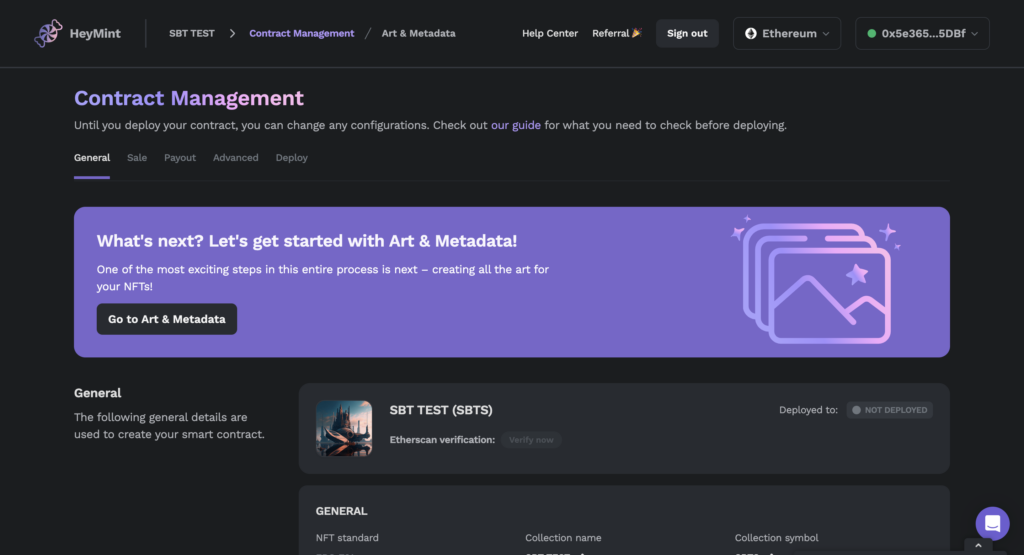
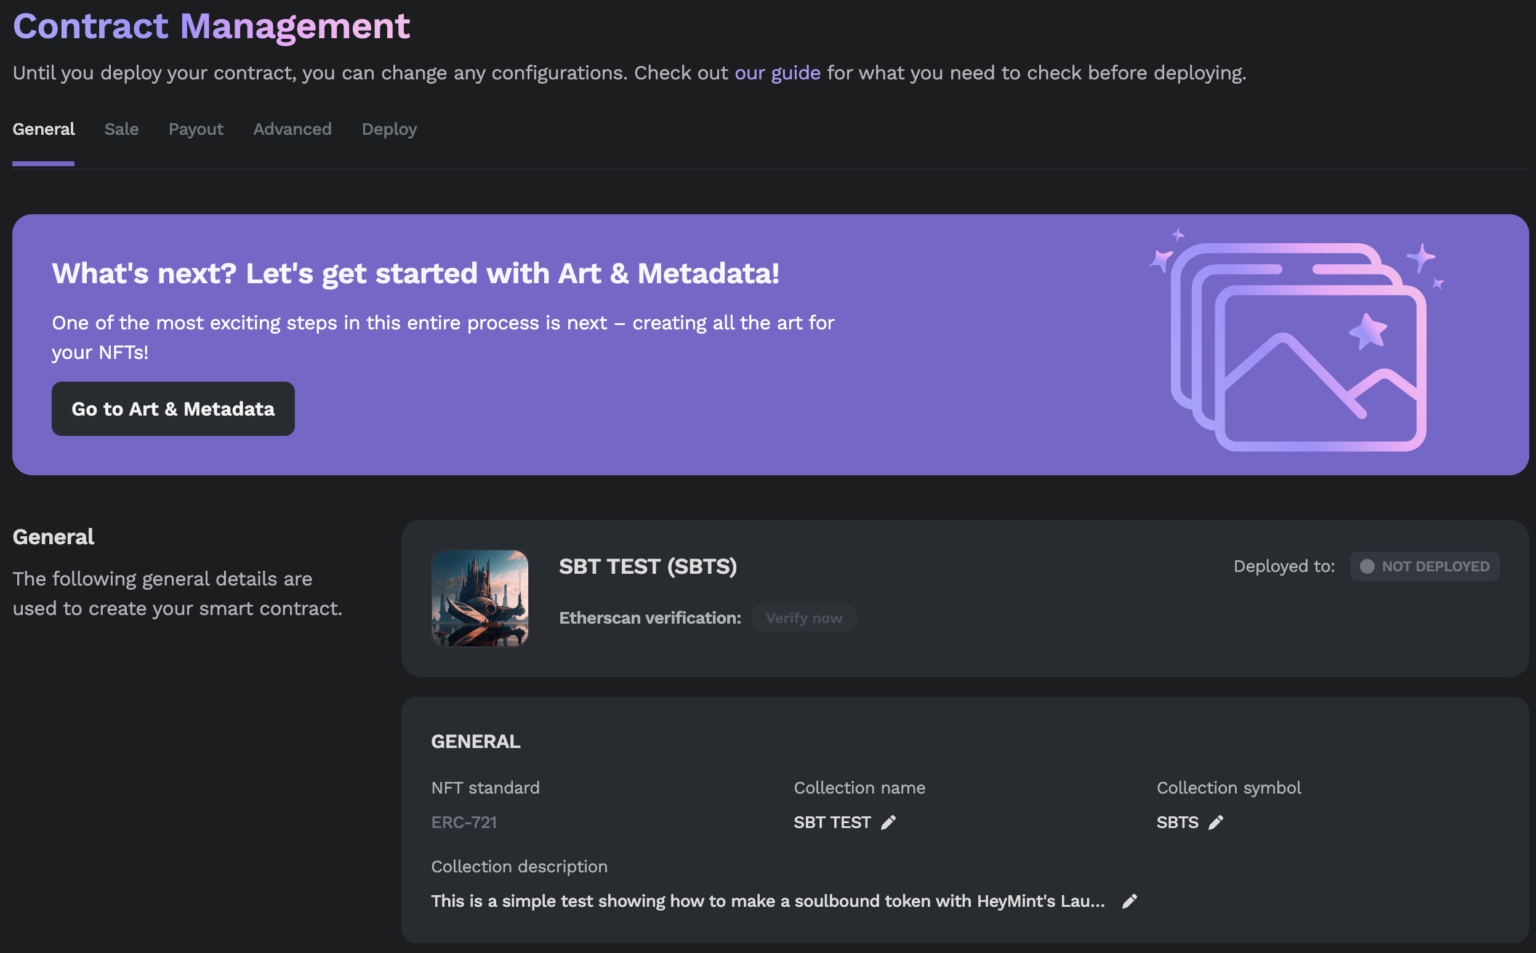
4. From the Contract Management Dashboard, select “Advanced”

5. Enable the Soulbinding toggle.
On the advanced page, you will notice a toggle for Soulbinding that makes NFTs non-transferable. Simply enable that toggle.
You may (optionally) add an address to be designated as the admin. The admin is a single wallet address with the ability to transfer NFTs in the event of a wallet being lost, stolen, etc.

When you’re done, click “Save” at the bottom of the page.
That’s it! You may continue building your collection as you normally would, which now features your very own soulbound tokens!
Further Reading

How to Create NFT Metadata
How to Create an ERC-721A NFT Collection With Launchpad
How On-Chain NFT Royalties Enforcement Works
How Much Does It Cost to Make an NFT?
How to Create an ERC-1155 NFT Collection With Launchpad
