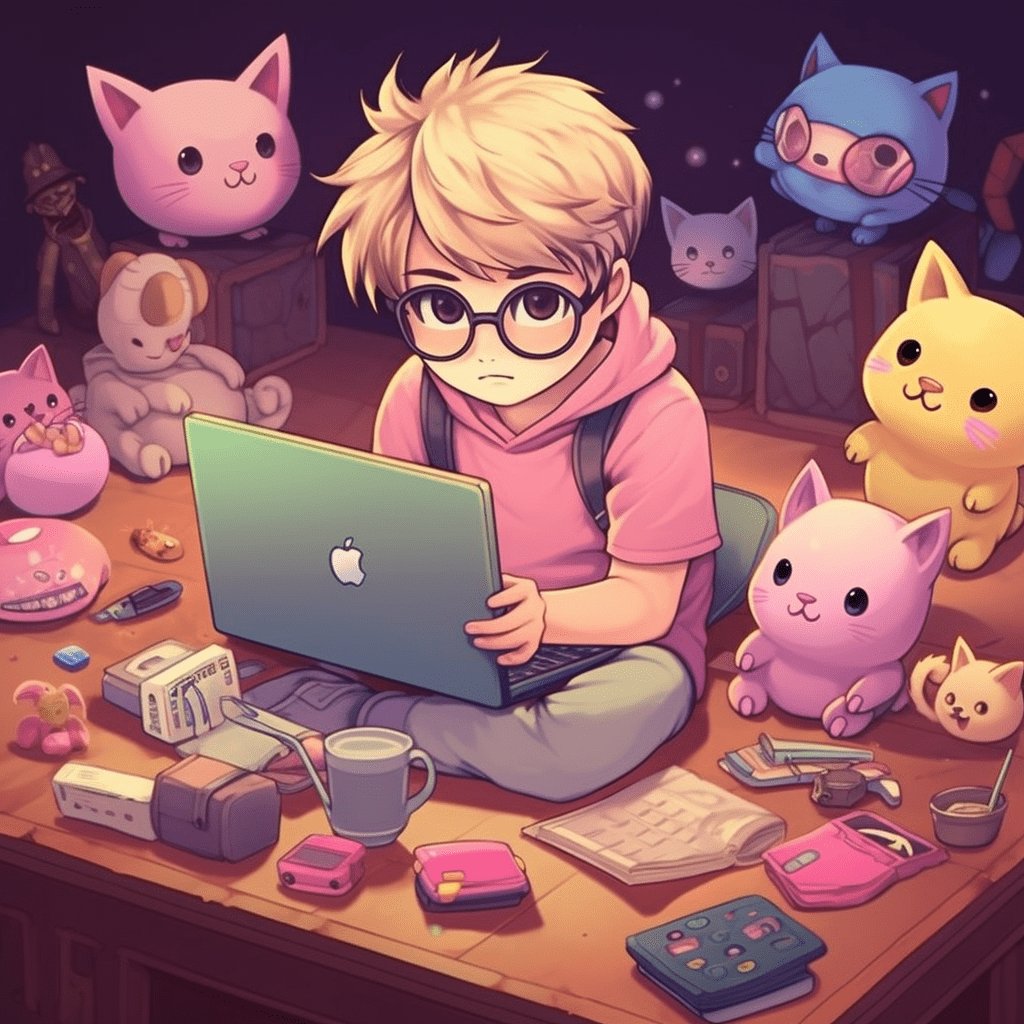
Non-fungible tokens (NFTs) have rapidly become a popular way for creators to showcase and monetize their work in the digital space. Starting your own NFT collection can be both an exciting and lucrative venture, but it’s essential to understand the process and plan accordingly. In this comprehensive guide, we’ll dive into the necessary steps to get you started with creating, minting, and launching your own successful NFT collection.
Understanding NFTs and Their Value

Non-fungible tokens, or NFTs, are unique digital assets that represent ownership of a piece of content, such as art, music, or virtual real estate. Each NFT has its distinct fingerprint and is stored on a blockchain network, ensuring transparency, provenance, and secure ownership. The value of an NFT comes from its uniqueness, scarcity, and the significance of the content it represents. Now that you have an understanding of what an NFT is, let’s explore the steps to create your own NFT collection.
Step 1: Defining Your NFT Collection Concept
The first step in starting your NFT collection is to define your project’s theme, style, and narrative. Consider what makes your collection unique and valuable in the eyes of potential collectors.
- Establish a consistent visual and thematic style that will resonate with your target audience.
- Identify the underlying story or message behind your collection, which can serve as a strong foundation for future creative decisions and promotional efforts.
- Determine the number of items in your collection, keeping in mind that scarcity can create more value.
Step 2: Creating Your Digital Assets
With a clear concept in mind, it’s time to create the digital assets that will make up your NFT collection:
- Choose a digital medium (e.g., digital art, music, video) that best represents your collection’s theme and style.
- Create high-quality digital assets using professional software tools or by collaborating with experienced artists or creators.
- Save your work in a widely accepted digital format like JPG, PNG, MP3, or MP4 to ensure compatibility with NFT marketplaces.
Step 3: Preparing Metadata for Your NFTs
Metadata is the information accompanying your NFTs, which helps potential buyers better understand your work. It can include details such as the asset’s name, description, image URL, and attributes. Before minting, organize and prepare the metadata for each asset in your collection:
- Write clear and engaging descriptions that highlight the unique aspects of your work.
- Include relevant attributes that can add value to your NFTs, such as rarity or special features.
- Make sure your metadata is accurate and consistent across all items in your collection.
Step 4: Minting Your NFT Collection

To start your NFT collection, you first need to mint your digital assets on a supported blockchain network. Minting is the process of creating the NFT and associating it with your digital asset and its metadata:
- Choose a blockchain network (e.g., Ethereum, Binance Smart Chain, or Flow) that supports NFTs and aligns with your project goals.
- Set up a digital wallet compatible with your chosen blockchain (e.g., MetaMask, Trust Wallet, Ledger) and ensure it holds enough native cryptocurrency to cover minting fees.
- Select an NFT marketplace (e.g., OpenSea, Rarible, Nifty Gateway) or use a self-service minting platform to turn your digital assets and metadata into NFTs.
Step 5: Promoting and Marketing Your NFT Collection
After minting your NFT collection, it’s essential to develop a solid marketing strategy to reach your target audience and increase the chances of success: - Create engaging promotional materials, such as graphics, animations, and video trailers showcasing your collection.
- Utilize social media platforms, community forums, and NFT-focused groups to spread the word about your collection and connect with potential buyers.
- Collaborate with influencers, other artists, or content creators within the NFT space to gain exposure for your work and potentially cross-promote each other’s collections.
Step 6: Launching Your NFT Collection
Once you’ve minted and promoted your NFT collection, it’s time to officially launch it on your chosen marketplace, making it available for purchase: - Set pricing strategies for your NFTs, considering factors like rarity, demand, and the value you want to convey to potential buyers.
- Launch your collection on the marketplace and enable features such as bidding, instant buy, and royalties to maximize your potential earnings and ensure long-term revenue.
- Monitor your collection’s performance and engagement, adapting your marketing strategies as needed to maintain interest and attract new collectors.
Step 7: Cultivating a Loyal Following

Building a dedicated community around your work is crucial for the longevity and success of your NFT collection:
- Engage with your audience regularly by offering updates, teasers, and behind-the-scenes content, as well as responding to comments, questions, and feedback.
- Foster community involvement and support by offering incentives, such as exclusive limited-edition NFTs, rewards, or experiences.
- Continue to create new and captivating content to expand your collection and maintain a consistent presence within the NFT space.
In conclusion
Starting your own NFT collection requires careful planning, compelling content, and consistent engagement with your audience. By following these fundamental steps, you can successfully launch your NFT collection and establish a strong presence in the ever-growing world of digital art and collectibles.